How to create a patient
On this page
A patient is the person you attend. Their record stores contact details, affiliation and their entire medical history.
Steps
-
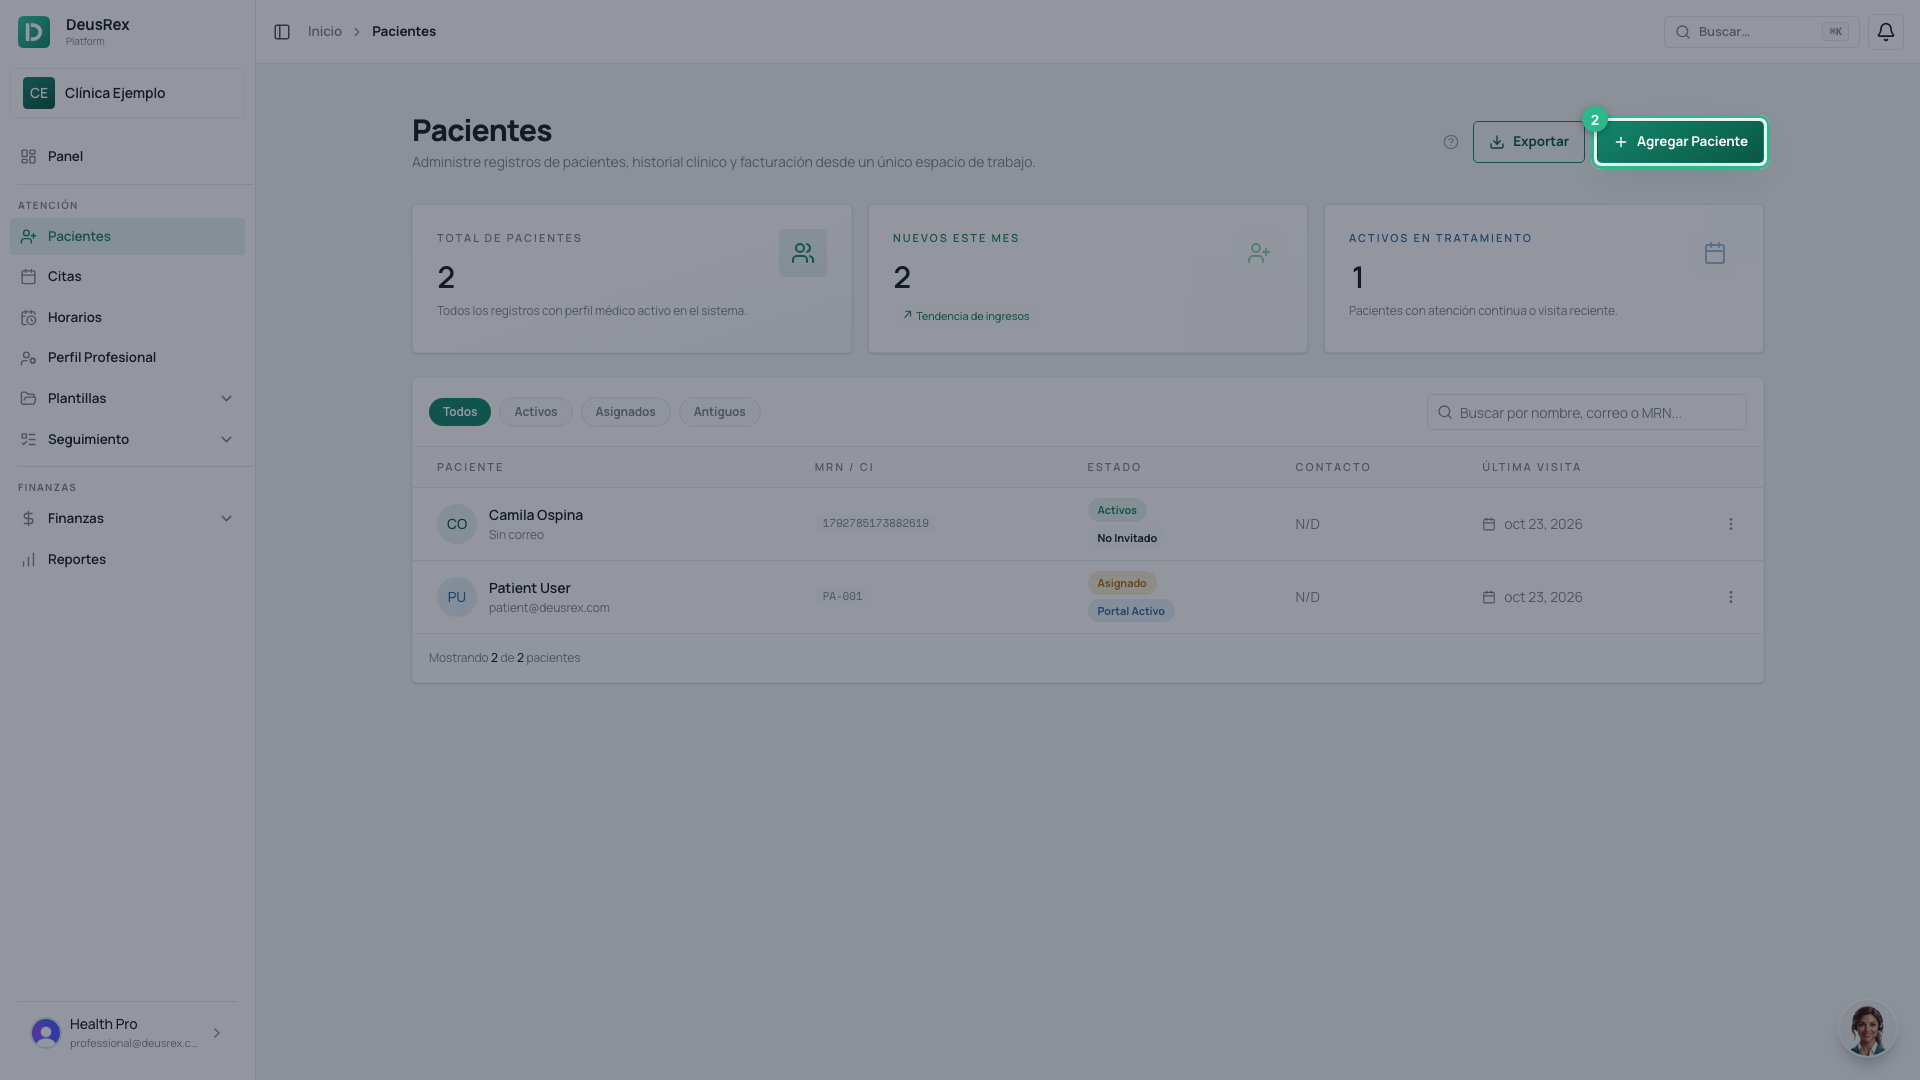
Open Patients in the sidebar.
-
Tap Nuevo Paciente.
-
Choose the Tipo de Documento and type the Número de Documento.
-
Type the Nombres and the Apellidos.
-
Add the email and the phone.
-
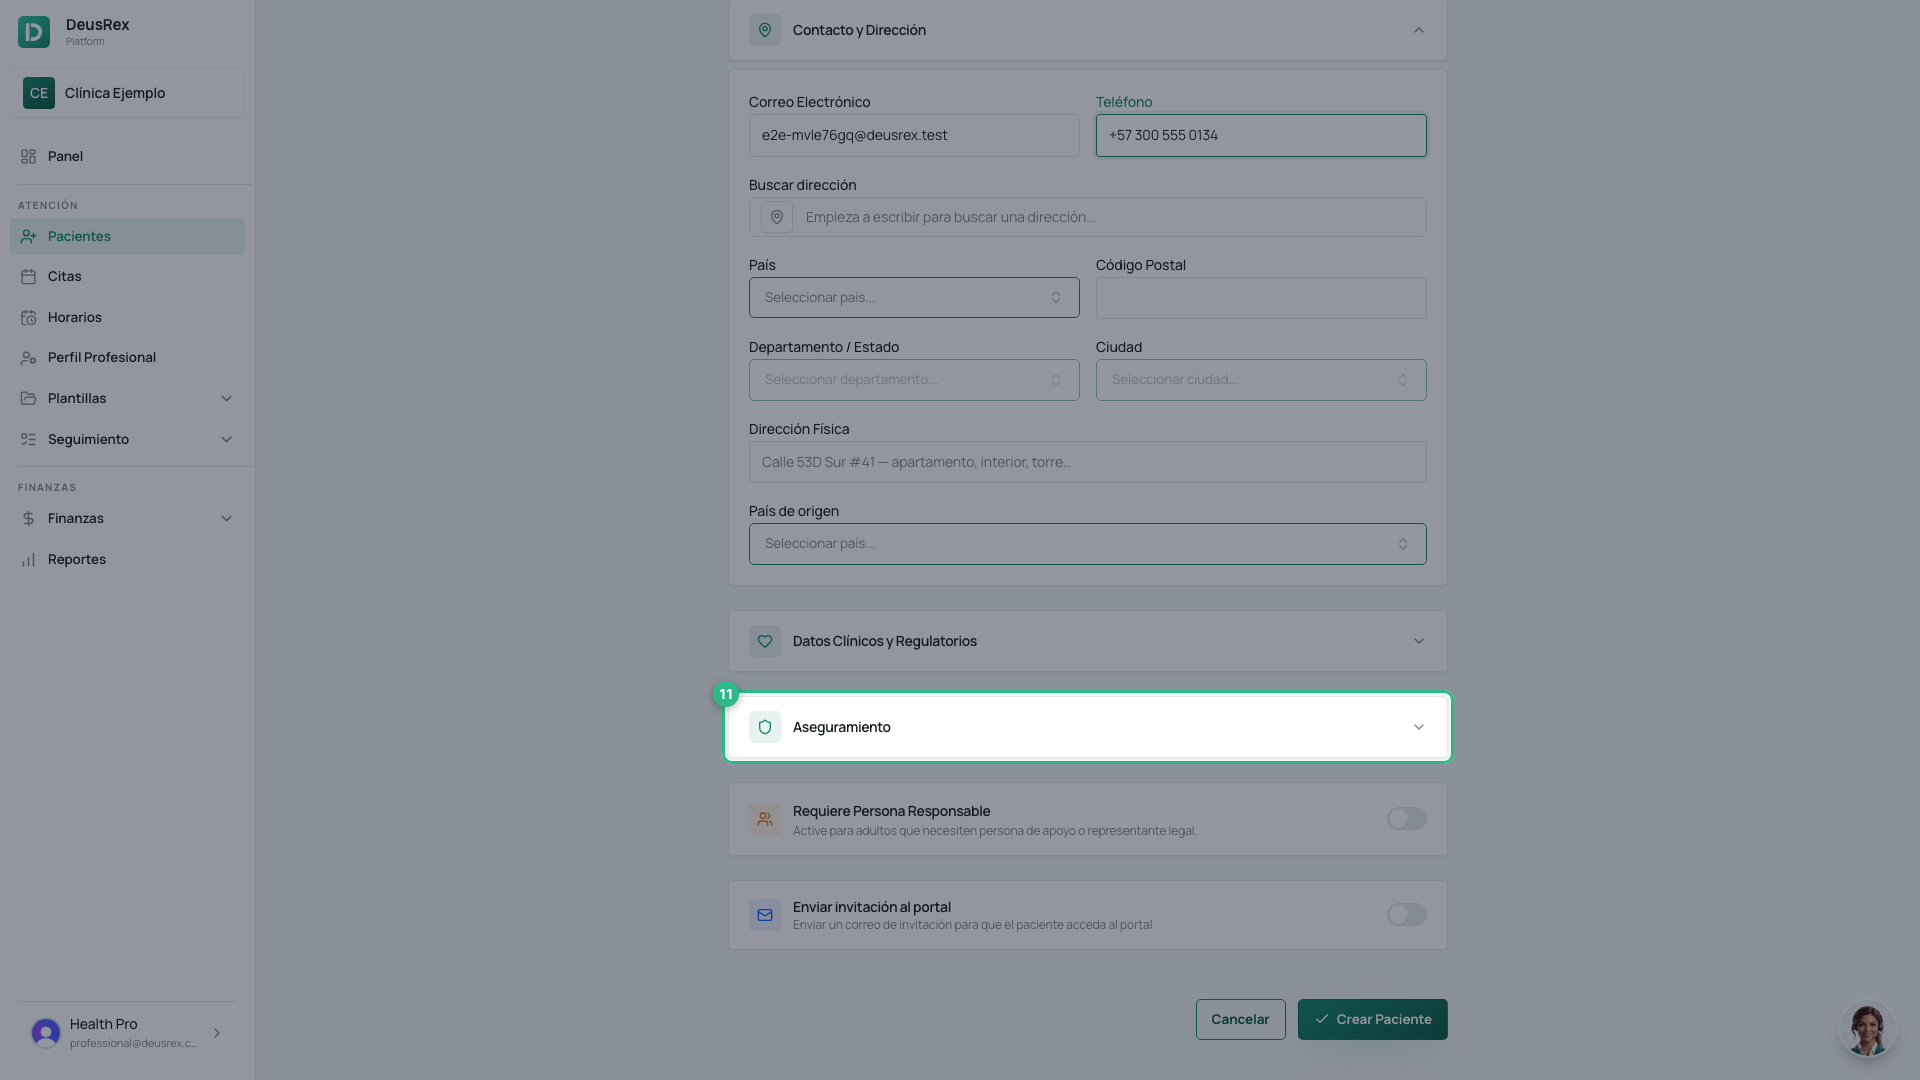
Tap Aseguramiento to open that section. It starts collapsed, so the health plan is not on screen until you open it.
-
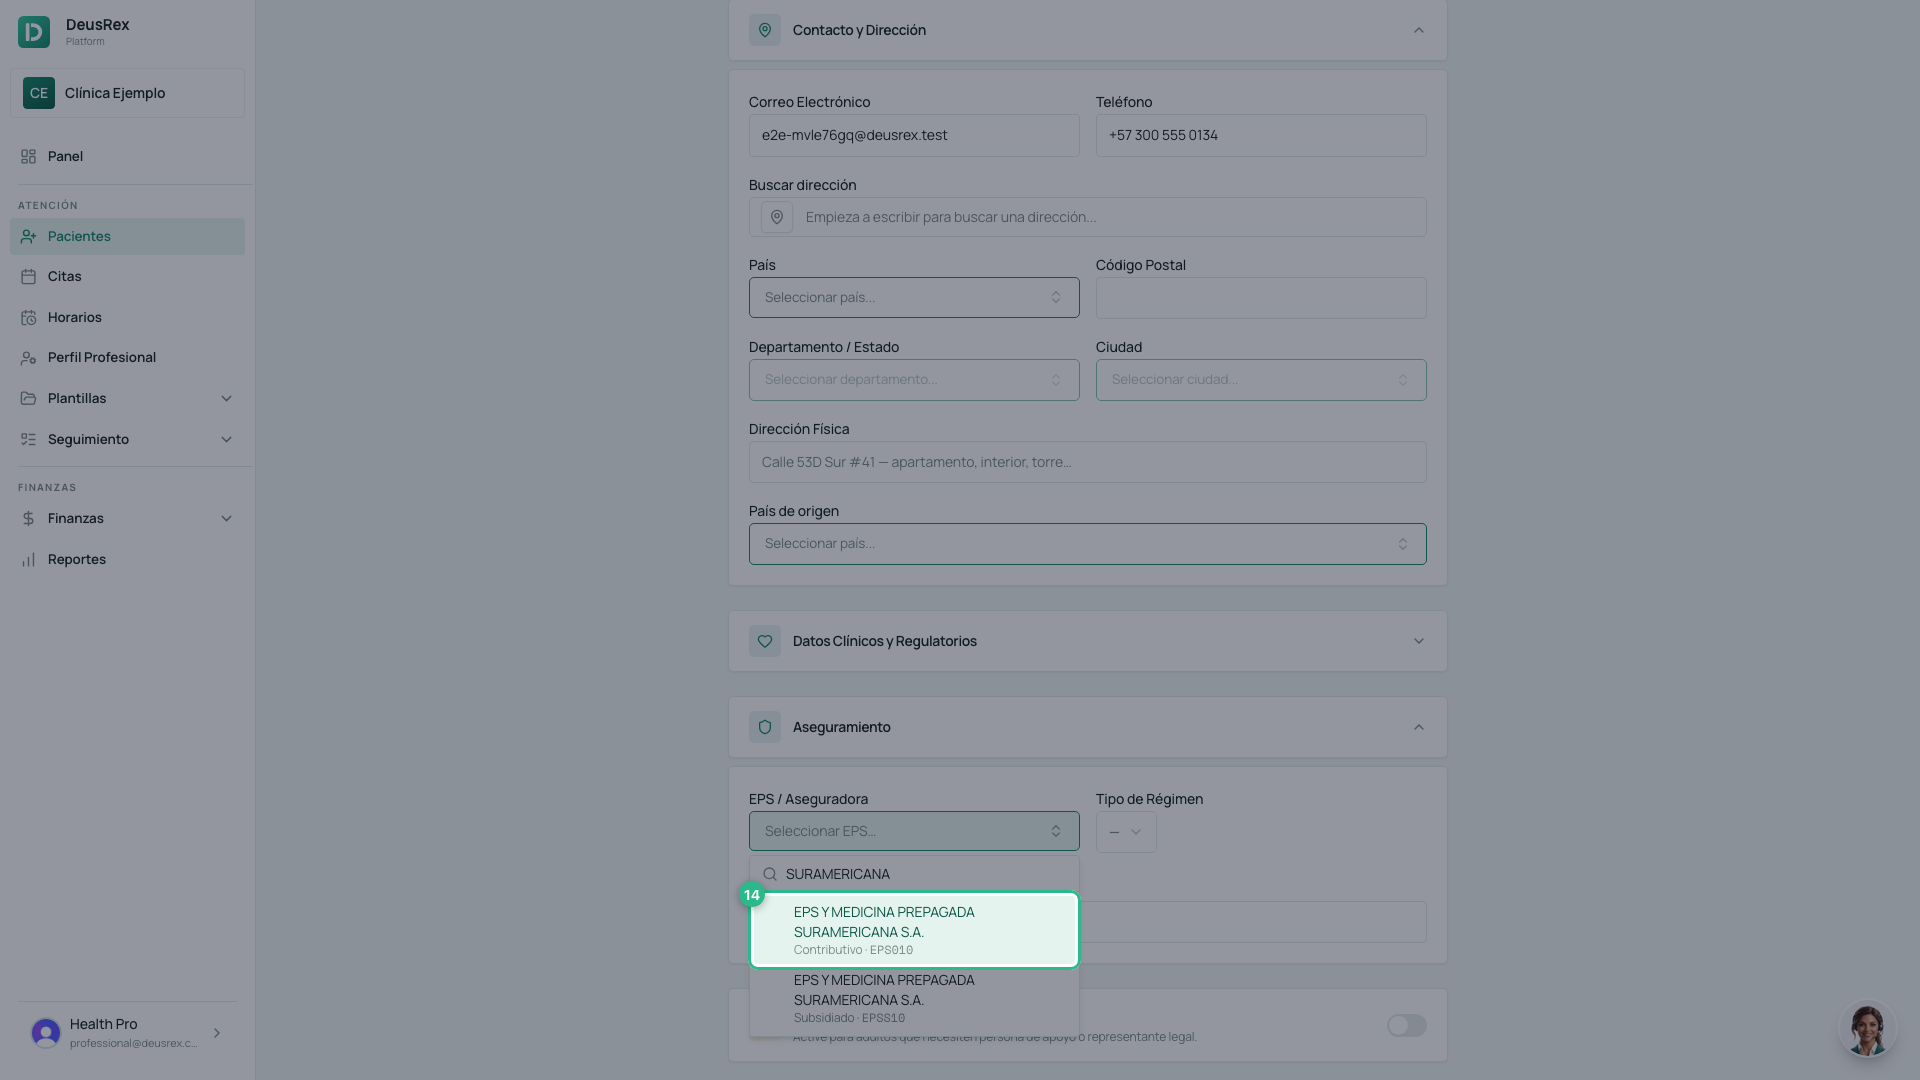
Open EPS / Aseguradora, type part of the name, the code or the NIT and pick the EPS from the list. It is a search over SISPRO’s official catalogue, not a free-text box. An EPS that serves both regimes appears twice: each row shows its own (Contributivo or Subsidiado) and its code.
-
Choose the Tipo de Régimen. The options are the RIPS ones: Contributivo cotizante, Contributivo beneficiario, Subsidiado, and the rest.
-
In Datos clínicos y regulatorios, choose the Etnia and the Discapacidad. In Colombia they are required because the Ministry asks for them in the Digital Care Summary (RDA). If they don’t apply, choose Ninguna de las anteriores and Sin discapacidad.
-
Tap Crear Paciente.
What is required
Tipo de Documento, Número de Documento, Nombres and Apellidos, and in Colombia also Etnia and Discapacidad. Everything else you can fill in later from the patient’s profile. País de origen starts on Colombia; change it for a foreign patient.
Tip
You can also create a patient on the fly while scheduling an appointment, without leaving the calendar.